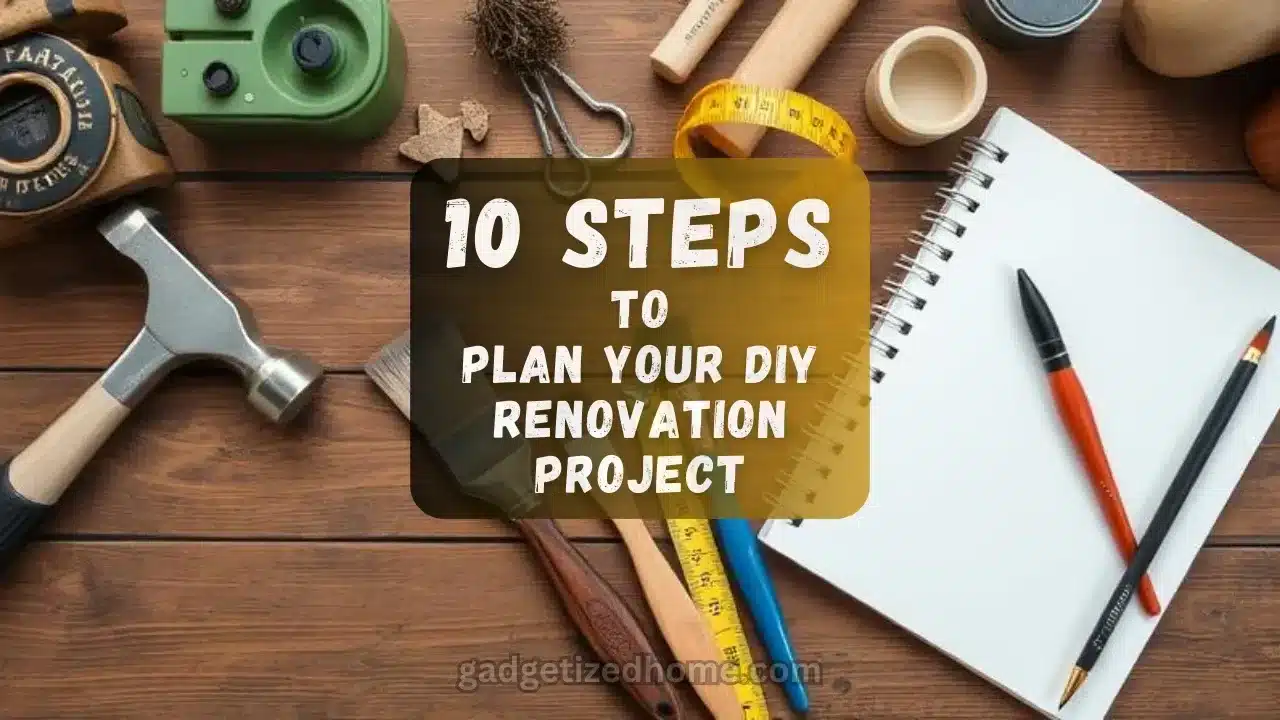
Are you thinking about your first DIY renovation? It’s exciting, but it can also feel overwhelming. Don’t worry—you’re not alone!
A well-planned DIY project can save money and give your space a personal touch. Whether it’s a small makeover or a complete room transformation, the key is having a clear plan.
This guide will walk you through the process step by step. From setting goals to picking the right tools, we’ll cover everything you need to know.
Along the way, I’ll share some handy products to make your project easier. Let’s get started on creating your dream space!
Step 1: Define Your Goals and Vision
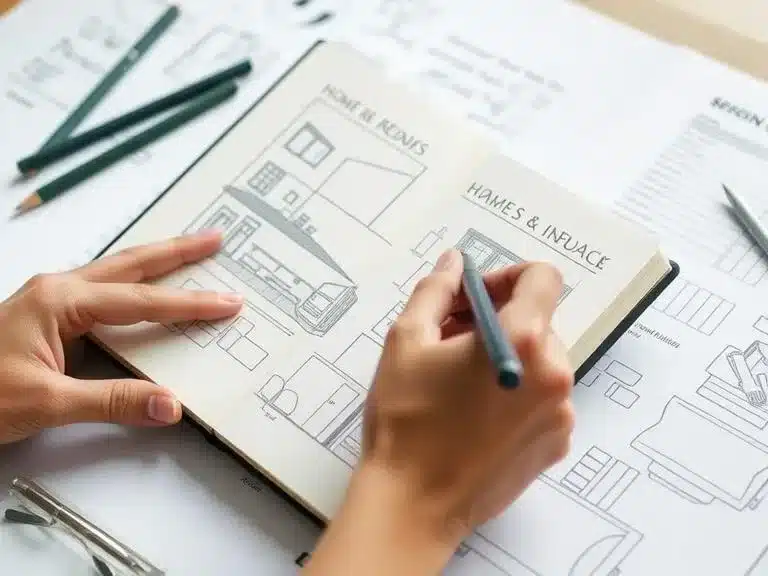
Before starting, ask yourself: Why do you want to renovate? Are you looking to update the style, improve functionality, or add value to your home? Knowing your goals will help guide every decision you make.
Next, imagine how you want the space to look and feel. Create a mood board or a collection of photos for inspiration. You can use apps, print images from magazines, or even sketch your ideas.
Having a clear vision keeps you focused and helps you avoid distractions or unnecessary changes.
Step 2: Set a Budget

Renovations can get expensive if you don’t plan your spending. Start by setting a realistic budget. Break it down into categories like materials, tools, and décor. Don’t forget to include extra funds for unexpected costs—around 10-20% is a good cushion.
Research prices for everything you’ll need. Compare options to find a balance between quality and cost.
Staying within your budget will prevent stress and let you enjoy the process more.
Step 3: Research and Gather Inspiration
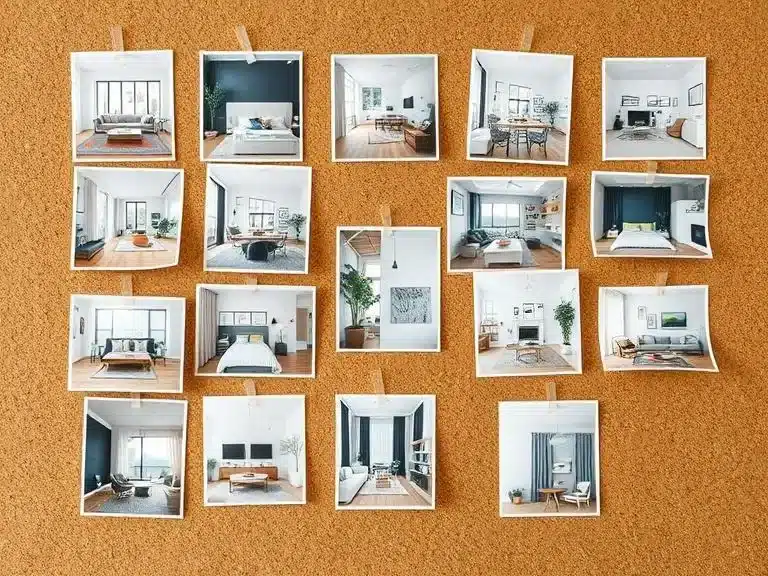
Take time to explore ideas before you begin. Look at websites, blogs, social media, and even your favorite stores. Save pictures or articles that catch your eye.
Focus on spaces that match your style and needs. Pay attention to color schemes, layouts, and materials that inspire you.
This research helps you refine your vision and gives you a clearer idea of what’s possible. Plus, it can introduce you to new trends and creative ideas!
Step 4: Assess Your Skills and Know When to Outsource
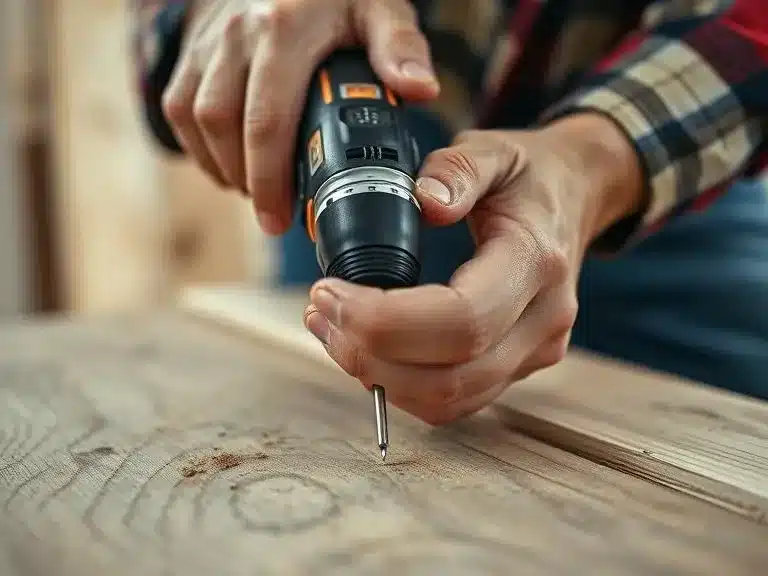
DIY projects are fun, but not everything can be done solo. Take an honest look at your skills. Are you comfortable painting walls? Installing shelves? Or tackling something bigger, like plumbing?
It’s okay to outsource tasks that need special knowledge, like electrical work or structural changes. Trying to do it yourself without experience can be unsafe and costly.
Focus on what you can handle and learn. Save the tougher jobs for the pros. This way, your project stays on track, and the results are professional.
Step 5: Plan Your Timeline
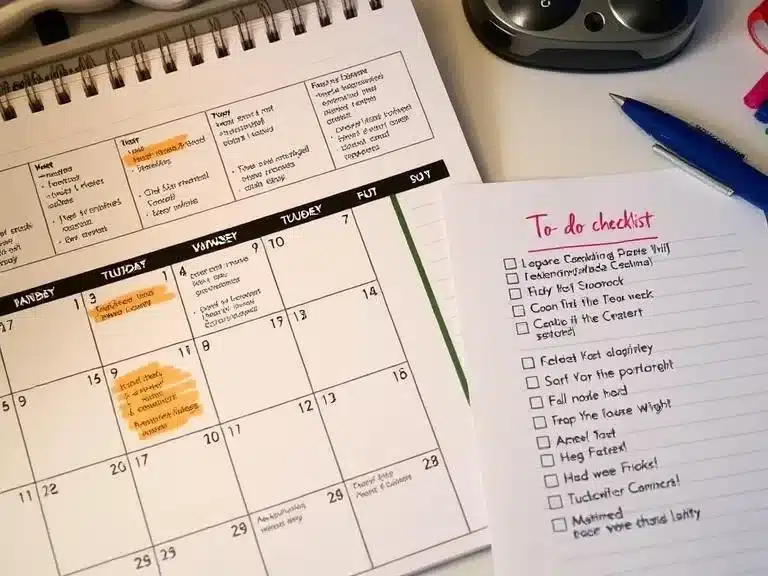
A good timeline keeps you organized and motivated. Break your project into smaller steps, like prepping the space, completing tasks, and final touches.
Be realistic about how much time each step will take. Avoid rushing, but don’t let the project drag on either.
Prioritize tasks that must be done first, like structural fixes or painting, before moving to décor or finishing touches. A clear schedule makes the entire process less stressful.
Step 6: Obtain Necessary Permits and Check Regulations
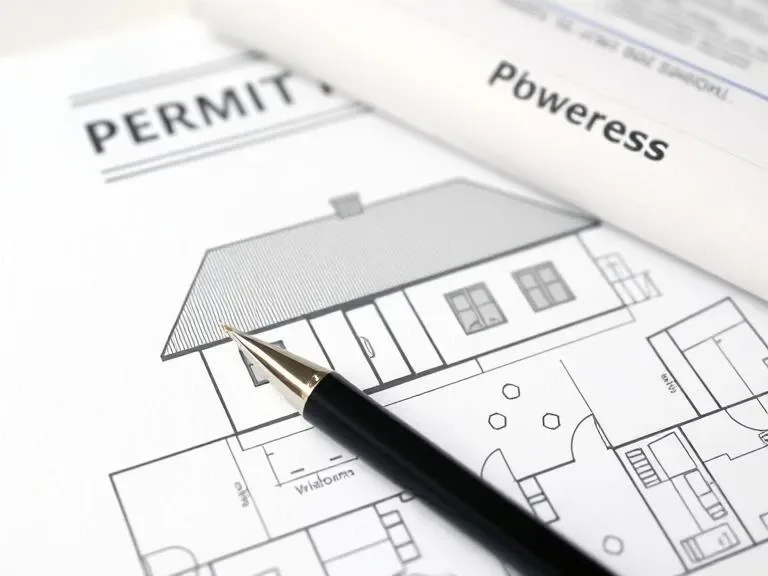
Some renovation projects need permits, especially if they involve electrical, plumbing, or structural changes. Skipping permits can lead to fines or complications later.
Check your local regulations to see what’s required. Often, you can find this information online or by contacting your local building department.
Having the proper approvals ensures your project meets safety standards and avoids problems down the road. It’s a small step that can save a lot of trouble!
Step 7: Create a Shopping List

Now it’s time to list everything you’ll need. Start with the basics: tools, materials, and safety gear. Include items like paint, nails, or power tools, depending on your project.
Write down specific details for each item, like sizes, colors, or brands. This helps avoid confusion when shopping.
Stick to your budget, but don’t compromise on quality. High-quality materials can save you time and money in the long run.
Step 8: Prepare Your Workspace
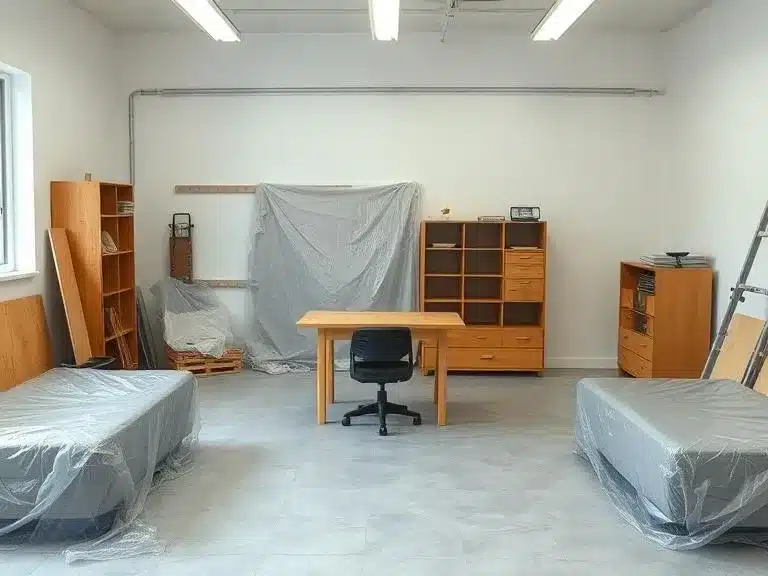
Before starting, get your workspace ready. Clear out the area and remove furniture or items that could get in the way.
Protect your floors, walls, and nearby furniture with dust sheets or plastic covers. Organize your tools and materials in one place so everything is easy to find.
A clean, well-prepared workspace makes the process smoother and safer. Plus, it saves time when you’re in the middle of a project.
Step 9: Start Small and Build Confidence
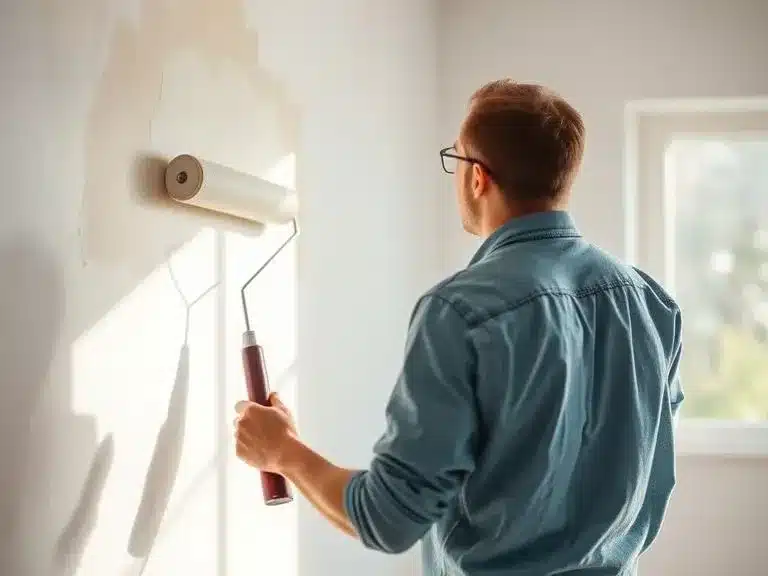
If this is your first DIY renovation, don’t dive into the hardest task right away. Start with something simple, like painting a wall or assembling furniture.
These smaller tasks help you build confidence and develop your skills. As you gain experience, you can move on to more challenging parts of the project.
Remember, every small step gets you closer to your goal. Take your time and enjoy the process.
Step 10: Execute and Evaluate Progress

Once you start, keep track of your progress. Break tasks into daily or weekly goals, and check them off as you go.
Evaluate your work regularly. If something isn’t going as planned, don’t hesitate to adjust your approach. Flexibility is key in DIY projects.
Celebrate milestones, no matter how small. Whether it’s finishing the painting or installing new shelves, these wins keep you motivated until the project is complete.
Conclusion
Renovating your space can feel like a big task, but with the right plan, it’s doable. By following these 10 steps, you’ll stay organized, on budget, and confident throughout the process.
Remember, every small effort adds up to a big transformation. Take your time, enjoy the journey, and don’t be afraid to get creative!
Thank you for reading and trusting this guide to help with your first DIY renovation. Here’s to creating the home of your dreams! 😊
FAQs
How do I set a realistic budget for my DIY renovation project?
Start by listing everything you’ll need, including materials, tools, and any professional help. Research costs for each item and add them up. Don’t forget to include an extra 10-20% for unexpected expenses. This will give you a clear and realistic budget.
What tools are essential for a beginner DIY renovation?
Basic tools like a hammer, screwdriver set, measuring tape, utility knife, paintbrushes, and a power drill are great to start with. Depending on your project, you might also need a level, stud finder, or saw. Invest in quality tools to make your work easier and safer.
How do I know if I need a permit for my renovation?
Permits are usually required for structural changes, electrical updates, plumbing, or anything that impacts your home’s safety. Check with your local building department to see if your project needs approval. It’s better to confirm early to avoid fines or delays.
What’s the best way to stay organized during a renovation?
Break your project into smaller tasks and create a timeline with deadlines for each step. Use a notebook, app, or planner to track your progress. Keep all tools and materials in one spot to avoid wasting time searching for them. Regularly review your plan to stay on track.
Recent Posts
- 10 Best Nesting Tables for Small Spaces and Apartments

- 10 Best Ladder Bookshelves for Stylish Home Organization

- 9 Best Storage Trunks for Home Organization and Style

- 10 Best Room Dividers for Privacy and Stylish Spaces

- 11 Best Bar Carts for Entertaining Guests in Style

- 10 Best Decorative Accent Cabinets for Stylish Home Storage

- 9 Best Convertible Futons and Sofa Beds for Small Apartments

- 10 Best Modular Furniture Sets for Flexible and Functional Living

- 10 Best Cube Storage Units for Organized and Stylish Homes

- 9 Best Closet Organizer Systems for Maximizing Your Space

- 10 Best Murphy Beds and Wall Beds for Small Guest Rooms

- 15 Best Folding Furniture Pieces for Small Apartments and Studios

- 12 Best Storage Ottomans for Small Spaces and Apartment Living

- 9 Best Activity Tables for Kids for Fun and Learning

- 9 Best Kids’ Dressers for Organized Bedrooms