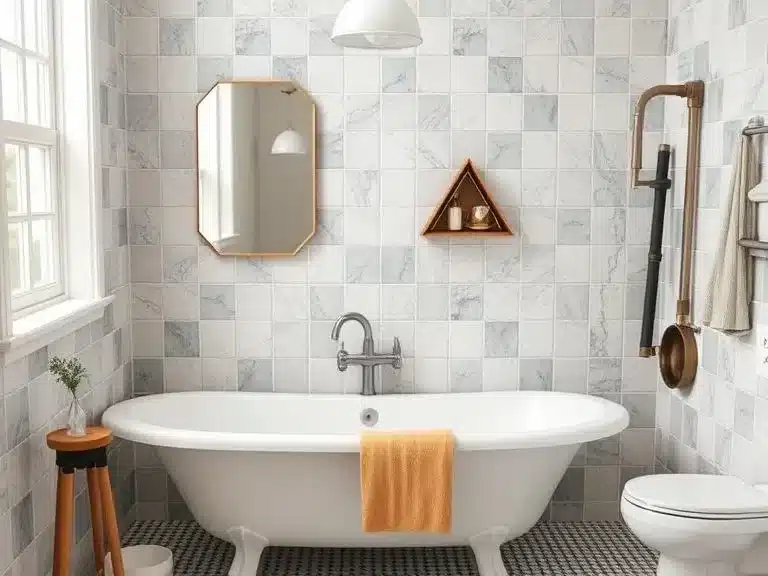
Renovating a bathroom can feel overwhelming, especially if you’re a beginner. But the truth is, you don’t need to spend a fortune or hire professionals to give your bathroom a fresh, modern look.
With a bit of planning, some basic tools, and the right approach, you can transform your space yourself. Not only will you save money, but you’ll also get the satisfaction of creating something with your own hands.
This guide will walk you through the simple steps to tackle a DIY bathroom renovation. From planning your budget to choosing the right products, we’ve got you covered. Let’s get started!
Assessing the Current State of Your Bathroom

Before starting any renovation, take a good look at your bathroom. Knowing what needs fixing or updating will help you plan better.
Inspect the Space
Check for issues like leaks, mold, or broken tiles. These problems should be addressed before adding new features. Look at the plumbing, lighting, and ventilation to ensure everything works properly.
If you notice mold or damp areas, prioritize fixing these. A mold detection kit can help you identify problem spots.
Decide the Scope of Work
Think about what changes you want. Are you looking for a full makeover or just cosmetic upgrades? Simple tasks like repainting or replacing fixtures are easier for beginners. Structural changes like moving a sink or shower might need professional help.
Knowing what you can handle will save time and money.
Setting a Realistic Budget
A solid budget is key to any DIY project. It keeps costs in check and ensures you can complete the renovation.
Break Down Costs
Start by listing everything you’ll need. Include tools, materials, fixtures, and decor. Don’t forget to set aside a portion for unexpected expenses—things like extra tiles or fixing a hidden plumbing issue.
Save Where You Can
DIY projects save a lot on labor costs. Look for sales or affordable alternatives for items like tiles or paint. Some online stores offer budget-friendly renovation kits.
Know When to Spend
Invest in quality for important features like waterproofing or lighting. Cheaper options might not last long, and repairs can cost more.
Gathering Tools and Materials
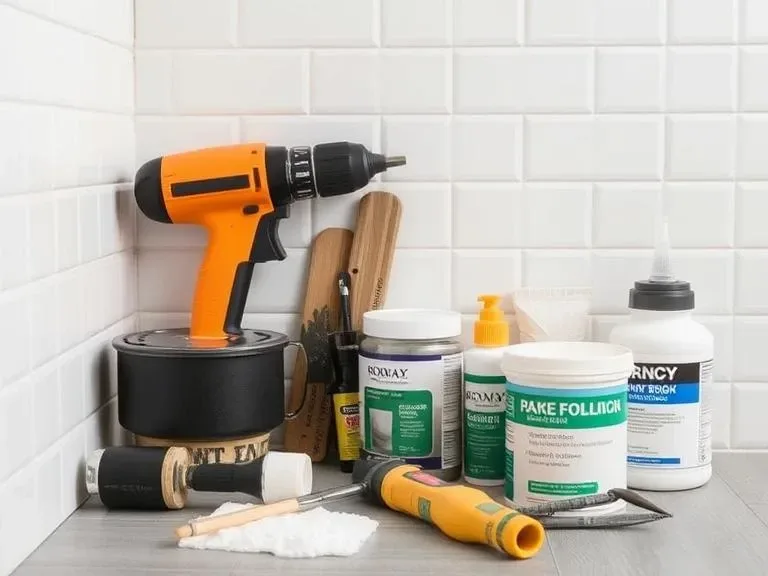
Having the right tools and materials makes the job easier and safer.
Essential Tools for Beginners
You don’t need a professional kit. Start with basics like:
- A screwdriver set
- Tile cutter or scorer
- Caulk gun
- Measuring tape
- Level
Protective gear like gloves and safety goggles is also a must. Many beginner DIY toolkits come pre-packaged with these essentials.
Choosing Quality Materials
For tiles, paint, and fixtures, pick items designed for bathrooms. Waterproof and mold-resistant options are a smart choice.
- Tiles: Consider peel-and-stick tiles for a quick and easy upgrade.
- Paint: Look for moisture-resistant paint to prevent peeling and mold.
- Fixtures: Choose durable faucets and showerheads that fit your budget.
Shop Smart
Compare prices online and in stores. Many retailers offer bundles or discounts for bulk purchases. Don’t forget to read reviews to ensure you’re getting reliable products.
Step-by-Step Renovation Guide
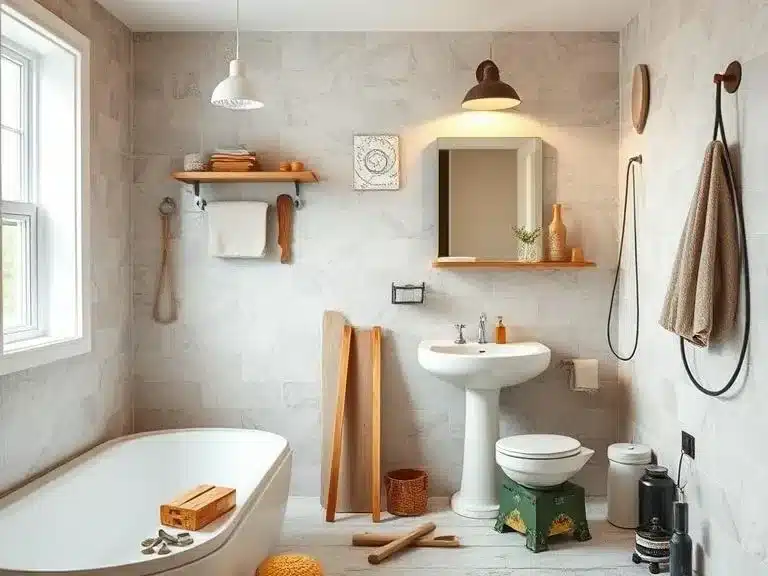
Renovating your bathroom doesn’t have to be complicated. Follow these steps to make the process smooth and manageable.
Step 1: Demolition and Preparation
Clearing the Space
Start by removing everything you’re replacing, like old tiles, fixtures, or vanities. Work carefully to avoid damaging plumbing or electrical connections.
- Wear protective gear, including gloves and goggles, for safety.
- Tip: Use heavy-duty trash bags for debris disposal.
Product Suggestion: A basic demolition kit with a pry bar and air hammer can make this step easier.
Fixing Underlying Issues
Before adding new elements, fix any hidden problems. Check the plumbing for leaks and ensure the wiring is up to code. If you notice dampness, address it with proper waterproofing.
Tip: Use a pipe thread sealant for minor plumbing fixes.
Step 2: Updating the Walls and Floors
Painting Walls
A fresh coat of paint can transform your bathroom. Choose a moisture-resistant paint designed for bathrooms. Light colors can make small spaces feel bigger and brighter.
- Tip: Use painter’s tape for clean edges around fixtures and trim.
Product Suggestion: Mold-resistant bathroom paints from brands like Rust-Oleum are beginner-friendly.
Tiling Floors and Walls
Tiles are durable and add a stylish touch. Peel-and-stick tiles are great for beginners and require no special tools.
- Measure the area carefully before cutting tiles.
- Apply grout evenly and seal it to prevent moisture damage.
Tip: Peel-and-stick vinyl tiles are affordable and easy to install, ideal for a DIY project.
Step 3: Installing Fixtures and Fittings
Replacing the Vanity and Sink
A new vanity can instantly update your bathroom. Look for compact designs if you’re working with a small space.
- Attach the vanity securely to the wall and ensure the plumbing is properly connected.
Budget–tip A budget-friendly vanity with a built-in sink can save you money and installation time.
Upgrading the Toilet
If your toilet is old or inefficient, consider replacing it. Many modern toilets are water-saving, which can lower utility bills.
- Follow the manufacturer’s instructions for installation.
Improving Lighting and Mirrors
Bright lighting is essential in a bathroom. Replace outdated fixtures with LED lights for energy efficiency and better illumination. Adding a stylish mirror with built-in lighting can also elevate the space.
Product Suggestion: Anti-fog LED mirrors are a practical and modern addition.
Step 4: Adding Storage and Decor
Maximizing Storage
Smart storage solutions can keep your bathroom organized. Add shelves, over-the-door hooks, or under-sink organizers to make the most of your space.
- Tip: Use adhesive hooks or floating shelves for easy installation.
Product Suggestion: Modular storage systems are versatile and work well in small bathrooms.
Adding Final Touches
Complete your renovation with decor that matches your style. Think shower curtains, bath rugs, and matching accessory sets.
- Choose items that are both functional and aesthetic.
Product Suggestion: A bathroom accessory set with soap dispensers, toothbrush holders, and storage containers can give a polished look.
We recommend Clara Clark Bathroom Accessories Set for your bathroom for the final touches 😊.
These steps will guide you through transforming your bathroom step by step. With the right tools and a little patience, your DIY project can look just as good as a professional renovation!
Common DIY Mistakes to Avoid
Renovating a bathroom for the first time can be tricky, but avoiding common mistakes can save you time and money.
Skipping the Planning Stage
Jumping into a renovation without a plan often leads to overspending or missed steps. Always measure your space and create a clear outline of what you need.
Ignoring Waterproofing
Bathrooms are prone to moisture damage. Failing to waterproof properly can lead to mold and long-term structural issues.
- Use waterproof membranes for shower walls.
- Seal the tiles and grout thoroughly.
Using the Wrong Tools
Trying to substitute tools can result in poor-quality work. Invest in basic, beginner-friendly tools for the best results.
Cutting Corners on Materials
Cheap materials might save money upfront but often require replacements sooner. Opt for mid-range or durable options to ensure longevity.
Maintaining Your Renovated Bathroom
Once your bathroom is renovated, keeping it clean and well-maintained ensures it looks great for years.
Regular Cleaning
- Use non-abrasive cleaners to prevent scratches on tiles and fixtures.
- Wipe down mirrors and glass to avoid water stains.
Preventing Mold and Mildew
Keep your bathroom well-ventilated by using an exhaust fan or opening windows.
- Use a dehumidifier if your bathroom retains moisture.
- Apply mold-resistant sprays to grout and corners.
Regular Inspections
Check for leaks under the sink and around the toilet every few months. Address any issues immediately to avoid bigger problems.
Final Thoughts
A DIY bathroom renovation is an exciting project that can transform your space while saving money. With careful planning, the right tools, and attention to detail, even beginners can achieve impressive results.
Remember to take your time, enjoy the process, and be proud of your work. Whether you’re upgrading fixtures, adding storage, or painting walls, every step adds value and personality to your home.
Thank you for reading this guide. If you’re ready to start your DIY bathroom renovation, explore our recommended products to make your project even easier!
FAQs
Can I renovate my bathroom without professional help?
Yes, you can! Many bathroom upgrades, like painting, tiling, and replacing fixtures, are beginner-friendly. Start with small tasks and gradually take on more complex projects. However, for major plumbing or electrical work, consulting a professional is recommended.
What tools do I need for a basic bathroom renovation?
Essential tools include a screwdriver set, caulk gun, tile cutter, measuring tape, level, and safety gear like gloves and goggles. For beginners, starter toolkits are available that cover most of these needs.
How can I make my DIY renovation budget-friendly?
Save costs by focusing on cosmetic upgrades, like painting, swapping out hardware, or using peel-and-stick tiles. Shop for materials during sales or opt for affordable yet durable options. DIY labor itself significantly cuts costs compared to hiring professionals.
How do I prevent mold and moisture issues after renovating?
Ensure proper ventilation by using an exhaust fan or opening windows regularly. Apply waterproofing materials during renovation and use mold-resistant paint and grout. Routine cleaning and mold prevention sprays can help maintain a mold-free bathroom.
Recent Posts
- 10 Best Nesting Tables for Small Spaces and Apartments

- 10 Best Ladder Bookshelves for Stylish Home Organization

- 9 Best Storage Trunks for Home Organization and Style

- 10 Best Room Dividers for Privacy and Stylish Spaces

- 11 Best Bar Carts for Entertaining Guests in Style

- 10 Best Decorative Accent Cabinets for Stylish Home Storage

- 9 Best Convertible Futons and Sofa Beds for Small Apartments

- 10 Best Modular Furniture Sets for Flexible and Functional Living

- 10 Best Cube Storage Units for Organized and Stylish Homes

- 9 Best Closet Organizer Systems for Maximizing Your Space

- 10 Best Murphy Beds and Wall Beds for Small Guest Rooms

- 15 Best Folding Furniture Pieces for Small Apartments and Studios
- 12 Best Storage Ottomans for Small Spaces and Apartment Living

- 9 Best Activity Tables for Kids for Fun and Learning
- 9 Best Kids’ Dressers for Organized Bedrooms