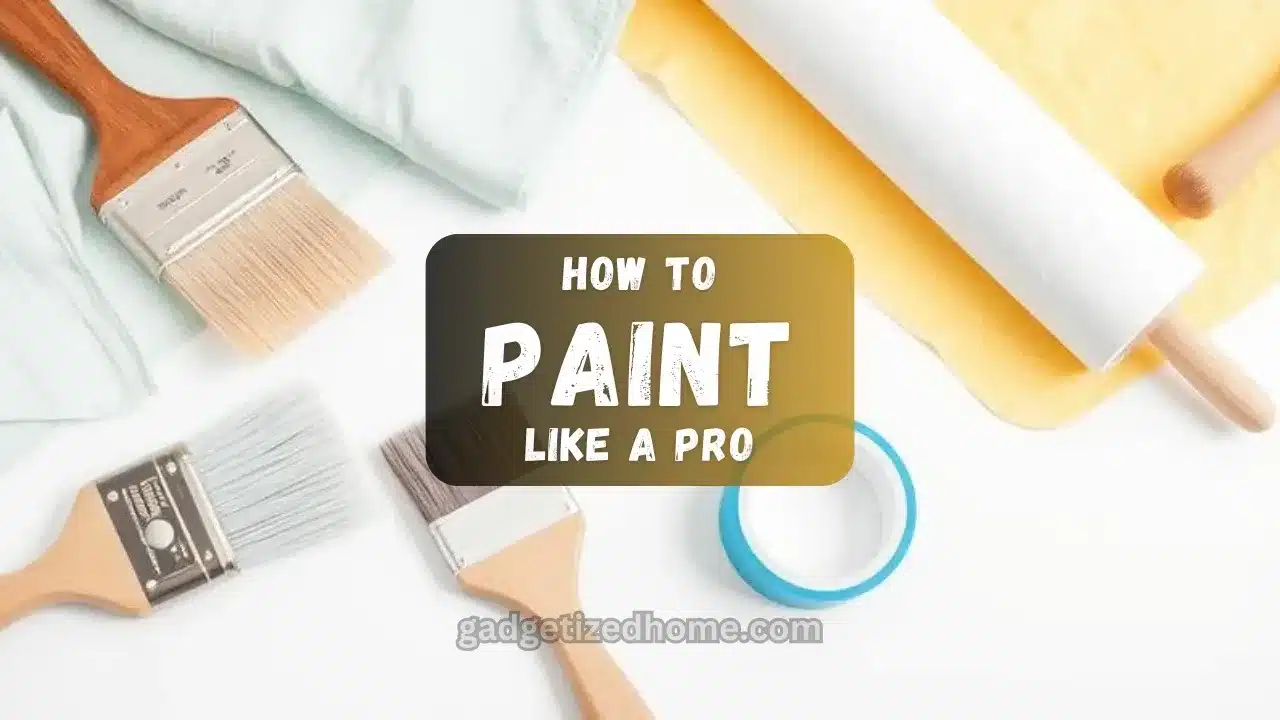
Painting your home can feel like a big task, but with the right tips and tools, it’s doable. Whether you’re refreshing a room or adding a pop of color, painting is an affordable way to transform your space.
In this post, we’ll share professional painting tips that even DIYers can easily follow. Plus, we’ll recommend some of the best tools and products to make your painting job easier and more effective.
Let’s get started!
1. Choose the Right Tools for the Job
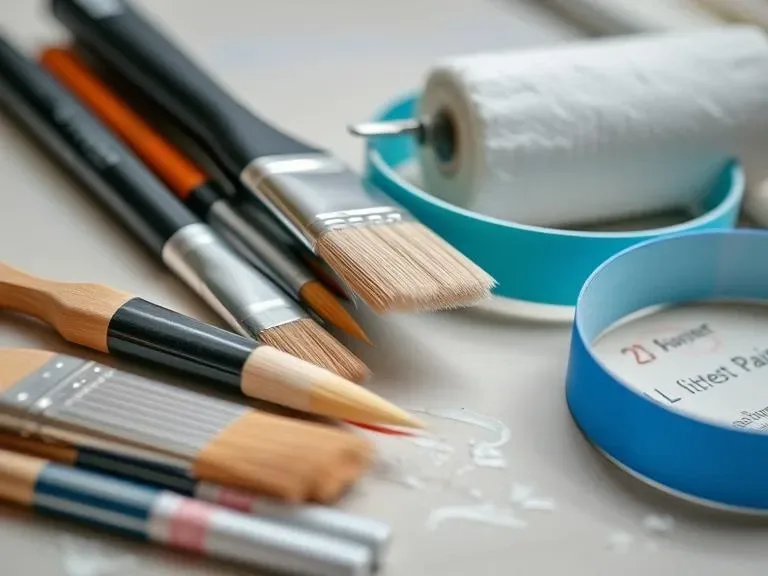
Having the right tools is the first step in getting a professional-looking finish. Good tools make the job easier and help you avoid mistakes.
Essential Painting Tools
Here’s what you’ll need to get started:
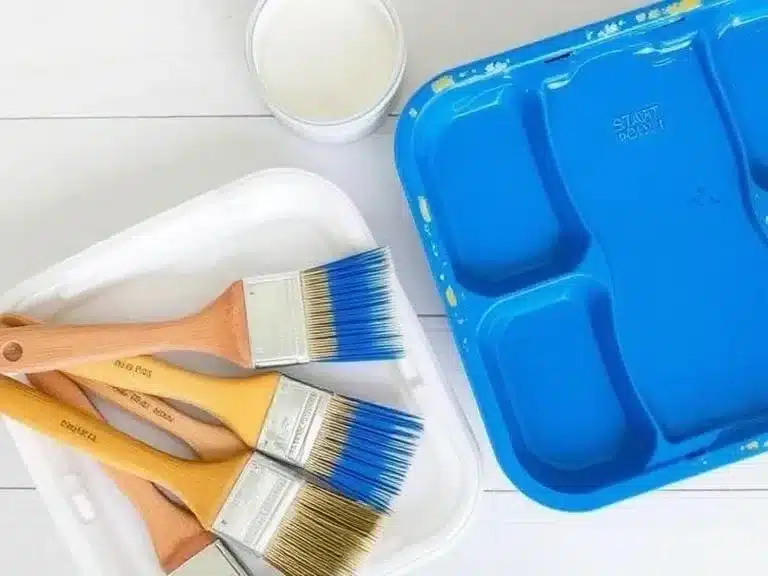
- Brushes – For detail work, edges, and trim.
- Rollers – For large, flat surfaces like walls and ceilings.
- Drop cloths – To protect your furniture and floors.
- Painter’s tape – Use this to get clean lines and protect areas you don’t want to paint.
Using quality tools can make a huge difference in your results.
Brushes and Rollers
Choosing the right brush or roller for the surface is key. Brushes come in different shapes:
- Flat brushes are great for covering large areas.
- Angled brushes are perfect for cutting in around edges.
Rollers are faster for large surfaces. Choose a roller with the right nap for the texture of your wall. Smooth walls need a short nap, while textured surfaces require a longer nap.
Product Recommendations:
- A high-quality paint roller set can help you apply an even coat quickly and smoothly.
- Purdy brushes are known for their durability and precision, perfect for both cutting in and general painting.
2. Prep the Surface Like a Pro
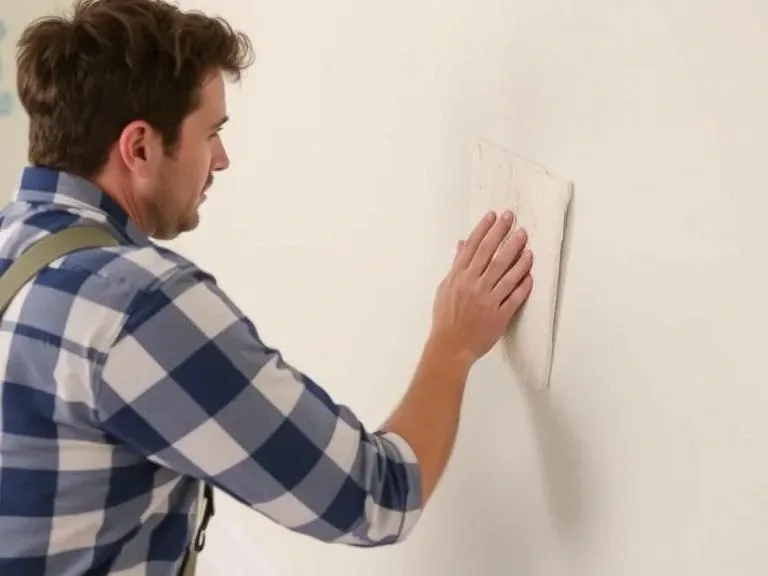
Proper surface preparation is crucial for achieving a smooth, long-lasting finish. Skipping this step can lead to uneven paint and peeling later on.
Cleaning the Walls
Before you paint, clean your walls. Dust, dirt, and grease can prevent paint from sticking well. Use a mild cleaner and a damp cloth to wipe down the surface.
Filling Holes and Cracks
Check your walls for any imperfections. Fill holes and cracks with spackle or filler. Once dry, sand the surface to make it smooth. This will ensure a uniform surface for the paint.
Sanding and Priming
After filling and sanding, apply a primer if needed. Priming helps the paint stick better and can cover stains or dark colors.
Product Recommendations:
- SIMPLE GREEN Cleaner is great for cleaning walls before painting.
- DAP Fast Patch is perfect for filling holes and cracks quickly.
- A high-quality primer like Zinsser Bulls Eye 1-2-3 will ensure your paint goes on smoothly and lasts longer.
Proper preparation sets the stage for a beautiful, long-lasting paint job.
3. Selecting the Right Paint
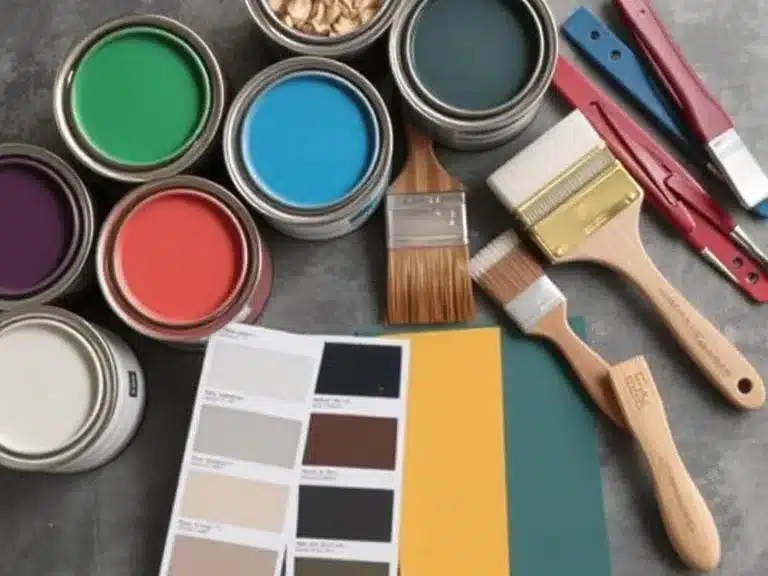
Choosing the right paint is just as important as the tools and preparation. The paint you pick affects the finish, durability, and how well it covers the surface.
Types of Paint Finishes
Paint comes in different finishes, each suited for specific areas:
- Matte (Flat): Ideal for low-traffic areas. It hides imperfections but is harder to clean.
- Satin: Has a slight shine and is easy to clean, making it great for living rooms and bedrooms.
- Semi-gloss: This works well in kitchens and bathrooms because it’s durable and easy to wipe down.
- Gloss: Offers a shiny finish that’s great for trim, doors, and furniture.
Oil-Based vs. Water-Based Paint
- Water-based (latex) paint dries faster and is easier to clean up with soap and water. It’s the most popular choice for most interior painting projects.
- Oil-based paint gives a smooth finish and is more durable but takes longer to dry and requires mineral spirits for clean-up.
Choosing the Right Color
When picking a color, think about the mood you want to create in the room. Lighter shades make spaces feel bigger, while darker shades add warmth. Always test the color on a small area of the wall before committing to the whole room.
Product Recommendations:
- Benjamin Moore Regal Select provides excellent durability and color options.
4. Mastering Painting Techniques
Knowing the right techniques will help you achieve a professional look. It’s not just about painting – it’s about how you paint.
Cutting In and Edging
“Cutting in” means painting the edges of the walls, around windows, trim, and ceilings. Use an angled brush for precise lines. Start by dipping the brush lightly into the paint and wiping off excess before you start cutting in. Work in sections to keep edges clean.
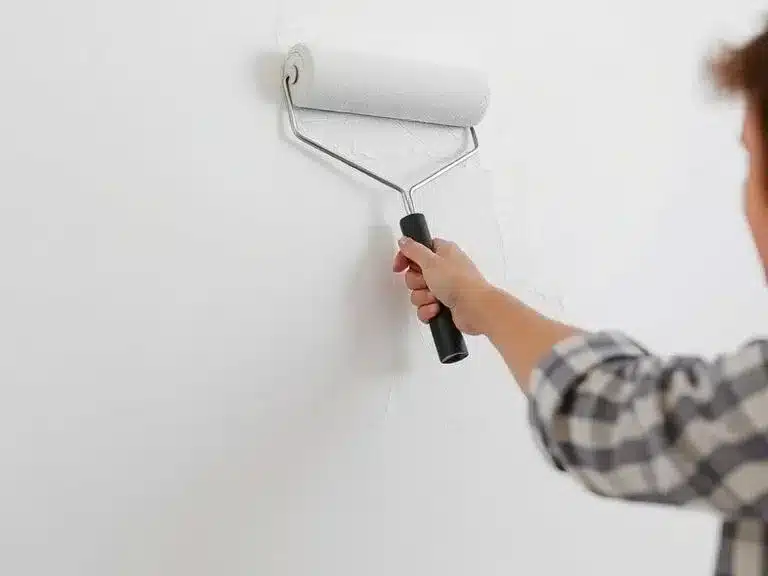
Rolling the Walls
Once the edges are done, use a roller for the larger surfaces. Load the roller with paint by dipping it in the tray and rolling it up and down to spread the paint evenly. Roll in a W or M-shape to ensure smooth, even coverage.
Achieving a Smooth, Even Finish
To avoid roller marks and streaks, don’t overload the roller with paint. Work in small sections and blend the edges where you start and stop painting. This will help prevent lines from forming as the paint dries.
Product Recommendations:
- Purdy XL Elite angled brushes are great for cutting in with precision.
- Wooster Super/Fab rollers provide even coverage without leaving marks.
5. Paint Like a Pro: Avoid Common Mistakes

Even experienced painters can make mistakes. Here are a few tips to help you avoid common errors that could ruin your project.
Don’t Rush the Drying Process
Patience is key. Let the first coat dry completely before applying the second. Rushing through the drying process can lead to uneven layers and poor adhesion.
Work in the Right Conditions
Painting in extreme temperatures or high humidity can affect how the paint adheres and dries. Ideal conditions are between 50-85°F (10-29°C) and moderate humidity. Always check the weather before starting a project.
Avoid Overloading the Brush or Roller
It’s tempting to load up the brush or roller with lots of paint, but this can lead to drips and uneven coverage. Apply thin, even coats instead.
Product Recommendations:
- 3M Respirators will help keep you safe from fumes while painting.
- A high-quality paint tray can help control the amount of paint on your roller, preventing overloading.
By avoiding these mistakes and following the tips above, you’ll achieve a beautiful, professional-looking paint job.
6. Clean-Up and Maintenance
Once you’re done painting, it’s important to properly clean your tools and take care of any leftover paint.
- Clean Brushes and Rollers – Rinse brushes and rollers with water or mineral spirits (for oil-based paint). Clean them thoroughly to extend their life.
- Store Leftover Paint – Seal the paint can tightly and store it in a cool, dry place for future touch-ups.
- Dispose of Waste Properly – Dispose of any paint cans, brushes, and materials according to local regulations.
Proper clean-up ensures your tools are ready for your next project and helps keep your space tidy.
7. Safety and Precautions
Painting safely should always be a priority.
- Wear Protective Gear – Use gloves, goggles, and a mask to protect your skin, eyes, and lungs from fumes.
- Ventilate the Area – Open windows and doors to allow fresh air to circulate and help the paint dry faster.
- Dispose of Paint Safely – Follow local guidelines for disposing of paint and related materials.
By keeping safety in mind, you can enjoy painting without worrying about risks.
Conclusion
Painting your home doesn’t have to be intimidating. With the right tools, techniques, and a little preparation, you can achieve a professional finish. Remember to take your time, follow safety guidelines, and enjoy the process.
Thank you for reading! We hope these tips help you tackle your next painting project with confidence. Happy painting!
FAQs
How do I choose the right paint finish for my room?
The paint finish you choose depends on the room’s function. For high-traffic areas like kitchens and bathrooms, a semi-gloss or satin finish works best due to its durability and easy-to-clean surface. For living rooms and bedrooms, matte or eggshell finishes are ideal for a smoother look.
Do I need to use a primer before painting?
Yes, using a primer is essential, especially if you’re painting over a dark color or a surface with stains. Primer helps the paint adhere better and ensures a more even and long-lasting finish.
Can I paint over old paint without sanding?
It’s not recommended to skip sanding. Lightly sanding the surface before painting helps create a better bond for the new paint and removes any imperfections. If the surface is smooth and clean, you can skip heavy sanding.
How long should I wait before applying a second coat of paint?
Allow the first coat to dry fully, which usually takes 2-4 hours for water-based paint. Check the manufacturer’s instructions on the paint can, as drying times can vary based on the paint type and environmental conditions.
Recent Posts
- 10 Best Nesting Tables for Small Spaces and Apartments

- 10 Best Ladder Bookshelves for Stylish Home Organization

- 9 Best Storage Trunks for Home Organization and Style

- 10 Best Room Dividers for Privacy and Stylish Spaces

- 11 Best Bar Carts for Entertaining Guests in Style

- 10 Best Decorative Accent Cabinets for Stylish Home Storage

- 9 Best Convertible Futons and Sofa Beds for Small Apartments

- 10 Best Modular Furniture Sets for Flexible and Functional Living

- 10 Best Cube Storage Units for Organized and Stylish Homes

- 9 Best Closet Organizer Systems for Maximizing Your Space

- 10 Best Murphy Beds and Wall Beds for Small Guest Rooms

- 15 Best Folding Furniture Pieces for Small Apartments and Studios

- 12 Best Storage Ottomans for Small Spaces and Apartment Living

- 9 Best Activity Tables for Kids for Fun and Learning

- 9 Best Kids’ Dressers for Organized Bedrooms