Renovating a home is exciting, but removing old fixtures can be tricky. If not done safely, it can lead to damage, injuries, or unexpected issues.
Whether you’re replacing lights, plumbing fixtures, or cabinets, safety should always come first. Turning off power and water, using the right tools, and following the right steps can prevent costly mistakes.
In this guide, you’ll learn how to remove old fixtures the right way. From electrical and plumbing to built-in cabinets, we’ll walk you through each step. Plus, we’ll recommend useful tools to make the process easier.
Let’s get started!
1. Preparing for Safe Fixture Removal
Safety First: Essential Precautions
Before removing any fixture, safety should be your top priority. A small mistake can lead to electric shocks, water leaks, or property damage.
- Turn off the power or water supply – Locate the circuit breaker and shut off power for electrical fixtures. For plumbing fixtures, close the main water valve or the fixture’s shut-off valve.
- Wear protective gear – Use safety gloves, goggles, and a dust mask to protect yourself from debris, dust, or accidental cuts.
- Ensure proper ventilation – If you’re working in a small space, open windows or use a fan to keep the area ventilated.
- Clear the workspace – Remove furniture and other obstacles to create a safe working area.
🔹 Recommended Tools: Safety gloves, protective glasses, dust mask.
Gathering the Right Tools for the Job
Using the right tools makes fixture removal easier and safer. Here are some essentials:
- Screwdrivers & wrenches – Needed for loosening screws, bolts, and nuts.
- Voltage tester – Ensures there is no electricity running to an electrical fixture.
- Wire cutters & pliers – These help disconnect wiring safely.
- Drill & pry bar – Useful for removing mounted fixtures and cabinets.
- Utility knife – Helps cut through caulk, paint, or adhesives holding fixtures in place.
🔹 Recommended Tools: Voltage tester, screwdriver set, wire cutters, adjustable wrench, and utility knife.
2. Removing Electrical Fixtures (Lights, Ceiling Fans, Wall Sconces)
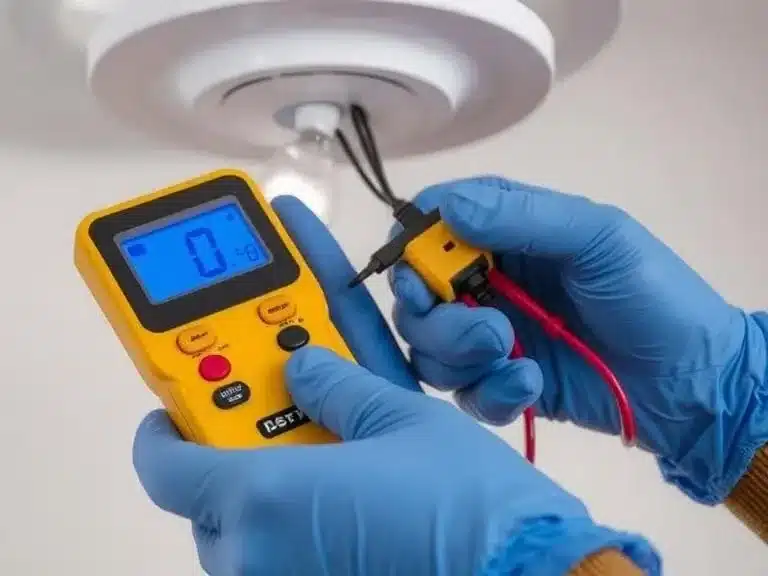
Step 1: Turning Off the Power
Before removing any electrical fixture, turn off the power from the breaker box. Never rely on a light switch alone.
- Find the circuit breaker that controls the fixture and switch it off.
- Use a voltage tester to double-check that there is no power running to the fixture.
Step 2: Dismounting Ceiling Lights & Chandeliers
- Remove light bulbs first to avoid breakage.
- Use a sturdy ladder and have someone assist you, especially for heavy chandeliers.
- Unscrew the fixture’s mounting plate and carefully disconnect the wires.
🔹 Recommended Tools: Ladder, wire connectors, and drill.
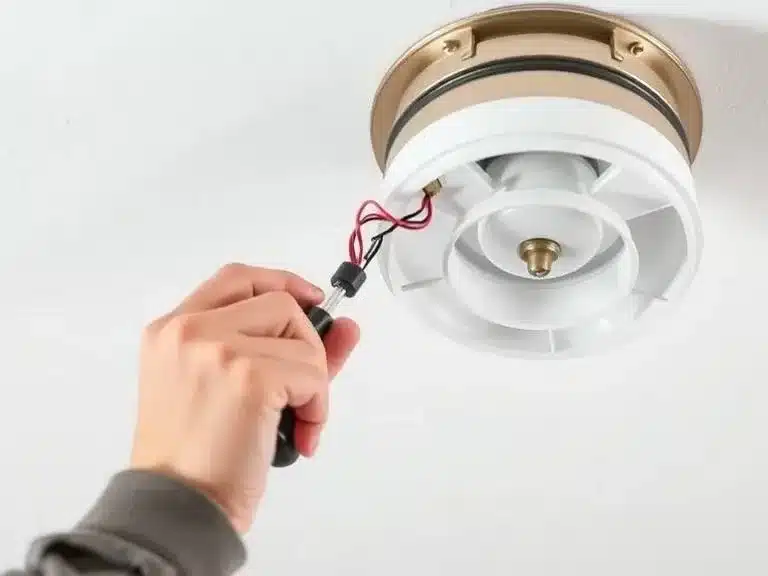
Step 3: Taking Down Ceiling Fans
- Remove the fan blades first to reduce weight.
- Unscrew the mounting bracket and slowly lower the fan.
- Disconnect the wires and safely set the fixture aside.
🔹 Recommended Tools: Screwdriver set, fan brace.
Step 4: Uninstalling Wall Sconces & Other Mounted Lights
- Carefully unscrew the fixture from the wall.
- Check for wall anchors or mounting brackets that need to be removed.
- Handle wires carefully and cap them with wire nuts if necessary.
🔹 Recommended Tools: Putty and spackle for wall repairs and LED replacement lights.
Now, your space is ready for new fixtures! Next, we’ll move on to plumbing fixture removal. 🚰🔧
3. Removing Plumbing Fixtures (Sinks, Faucets, Toilets, and Tubs)
Step 1: Shutting Off the Water Supply
Before removing any plumbing fixture, turn off the water to avoid leaks or flooding.
- Locate the shutoff valve under the sink, behind the toilet, or near the fixture.
- If there’s no dedicated valve, turn off the main water supply to your home.
- Open a faucet to release any remaining water in the pipes.
🔹 Recommended Tools: Adjustable wrench, bucket (to catch drips), pipe tape.
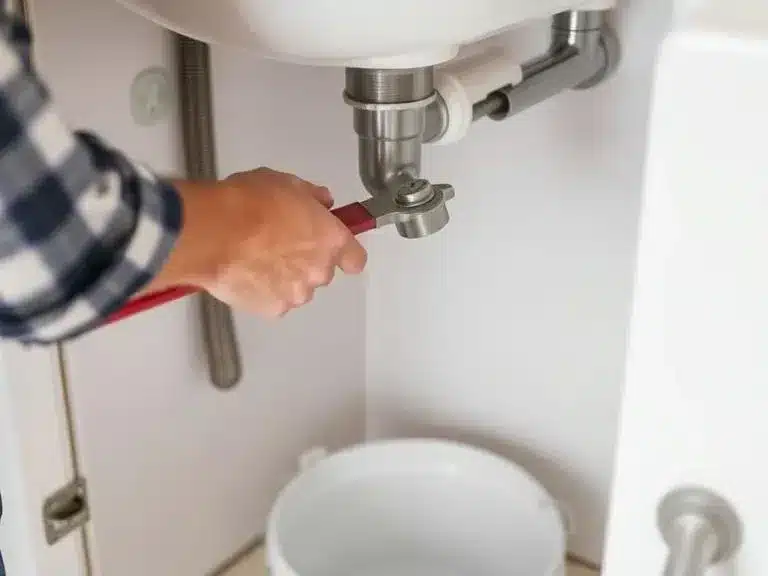
Step 2: Removing a Sink or Faucet
- Place a bucket under the pipes to catch any remaining water.
- Use an adjustable wrench to disconnect the water supply lines.
- If the fixture is sealed with caulk, use a utility knife to loosen it.
- Gently pull the sink or faucet away from the surface.
🔹 Recommended Tools: Pipe wrench, penetrating oil (for stuck nuts), caulk remover.
Step 3: Taking Out a Toilet
- Flush the toilet to drain most of the water.
- Use a sponge or towel to soak up any remaining water in the bowl and tank.
- Unscrew the bolts at the base and carefully lift the toilet.
- Seal the drain hole with a rag to prevent sewer gas from escaping.
🔹 Recommended Tools: Wax ring replacement kit, plumbing sealant, and disposable gloves.
Step 4: Detaching Bathtub or Shower Fixtures
- Remove any screws or mounting brackets.
- Cut through old caulking with a utility knife.
- For heavy tubs, have someone help you lift and move it safely.
🔹 Recommended Tools: Caulk remover, pry bar, and heavy-duty gloves.
4. Removing Built-in Fixtures (Cabinetry, Countertops, Mirrors)
Step 1: Loosening & Unscrewing Cabinets & Shelves
- Empty all cabinets and drawers before removal.
- Unscrew the hinges, brackets, or support screws securing them to the wall.
- If the cabinet is glued, use a pry bar to loosen it carefully.
🔹 Recommended Tools: Drill, stud finder, cabinet lifter.
Step 2: Taking Out Countertops & Backsplashes
- Use a utility knife to cut through caulk or adhesive.
- If the countertop is heavy (granite, quartz), lift it carefully with help.
- Remove any remaining adhesive with a scraper.
🔹 Recommended Tools: Adhesive remover, pry bar, lifting straps.
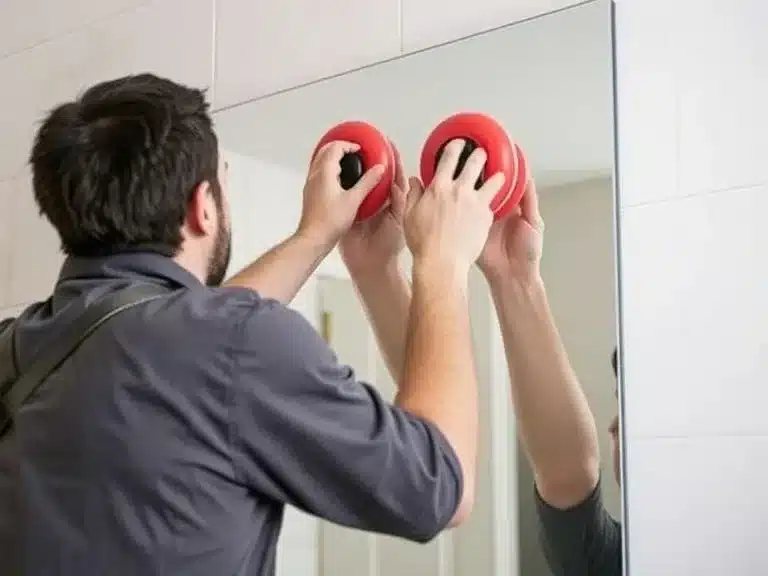
Step 3: Safely Removing Wall Mirrors & Glass Panels
- Apply painter’s tape in a grid pattern on the mirror to prevent shattering.
- Use suction cup lifters to hold and remove large mirrors.
- If glued, carefully pry it off the wall without breaking it.
🔹 Recommended Tools: Suction cups, mirror adhesive remover, and safety glasses.
5. Cleaning Up & Preparing for New Installations
Step 1: Disposing of Old Fixtures Responsibly
- Recycle metal, glass, and plastic parts instead of throwing them away.
- Donate working fixtures to local charities or resale shops.
- Use a dumpster or disposal service for large or broken items.
🔹 Recommended Tools: Heavy-duty trash bags, recycling bins, disposal service contacts.
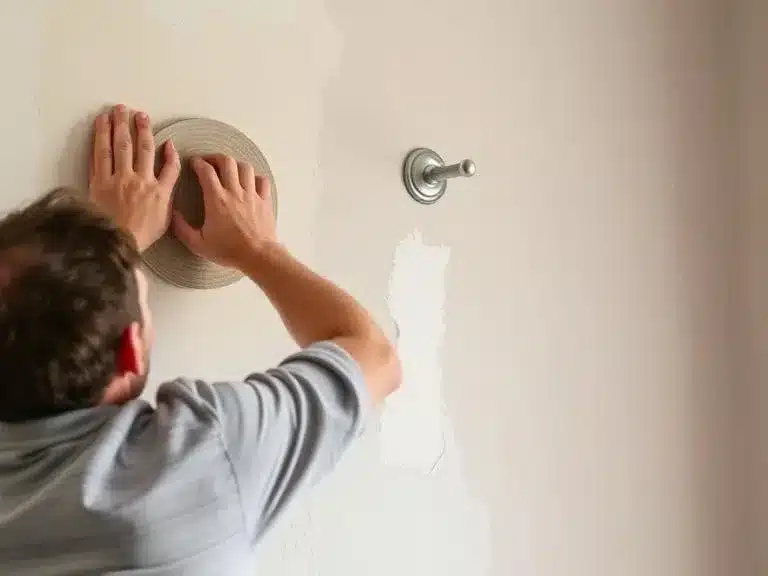
Step 2: Repairing Walls & Ceilings
- Fill small holes with spackle and sand them smooth.
- Patch larger holes with drywall repair kits.
- Apply a coat of primer before installing new fixtures.
🔹 Recommended Tools: Drywall patch kit, sanding block, paint primer.
Step 3: Installing Temporary Lighting or Plumbing Solutions
- Use portable work lights if ceiling lights are removed.
- Install a temporary faucet or portable sink during plumbing work.
- Keep a battery-powered light for safety in dark areas.
🔹 Recommended Tools: Portable LED lights, temporary plumbing fittings, battery-operated bulbs.
Now your space is prepped and ready for new installations! Taking your time and using the right tools will make your renovation smoother and safer. 💡🔧🚰
Conclusion
Removing old fixtures during a renovation doesn’t have to be stressful. With the right tools, proper precautions, and a step-by-step approach, you can do it safely and efficiently. Always turn off power and water, handle fixtures carefully, and clean up properly before installing new ones.
Taking your time now will save you from costly mistakes later. Stay safe, and enjoy your home transformation!
Thank you for reading! Happy renovating! 🔧🏠💡
FAQs
Do I need to turn off the main power to remove a light fixture?
Not always. You can turn off the specific circuit breaker that controls the fixture. However, using a voltage tester to double-check that there’s no power is always a good idea.
How do I remove a stuck faucet or sink fixture?
If the fixture is stuck due to rust or old sealant, apply penetrating oil and let it sit for a few minutes. Use an adjustable wrench for extra leverage, and if needed, carefully cut through the caulk with a utility knife.
What should I do with old fixtures after removal?
You can donate, recycle, or repurpose working fixtures. For damaged ones, check with your local waste disposal service for proper recycling options.
How can I patch the holes left after removing wall fixtures?
For small holes, use spackle and sand it smooth before painting. For larger holes, a drywall patch kit works best. Always apply primer before repainting to ensure a seamless finish.
Recent Posts
- 10 Best Nesting Tables for Small Spaces and Apartments

- 10 Best Ladder Bookshelves for Stylish Home Organization

- 9 Best Storage Trunks for Home Organization and Style

- 10 Best Room Dividers for Privacy and Stylish Spaces

- 11 Best Bar Carts for Entertaining Guests in Style

- 10 Best Decorative Accent Cabinets for Stylish Home Storage

- 9 Best Convertible Futons and Sofa Beds for Small Apartments

- 10 Best Modular Furniture Sets for Flexible and Functional Living

- 10 Best Cube Storage Units for Organized and Stylish Homes

- 9 Best Closet Organizer Systems for Maximizing Your Space

- 10 Best Murphy Beds and Wall Beds for Small Guest Rooms

- 15 Best Folding Furniture Pieces for Small Apartments and Studios

- 12 Best Storage Ottomans for Small Spaces and Apartment Living

- 9 Best Activity Tables for Kids for Fun and Learning

- 9 Best Kids’ Dressers for Organized Bedrooms